I use this style of nymph a lot both in ‘traditional’ nymphing and as a point fly on a wet fly cast. Obviously other tyers have developed this style and it is commonly used in different parts of the world for trout and grayling. I love the extra ‘kick’ the bead gives to the hackle fibres which really adds life to the pattern.

This is an easy fly to tie but there is a definite need to concentrate on the correct positioning of the bead. Too far back and the fly looks out of proportion; too far forward and you will have insufficient space to wind the hackle and form a neat head. Here is how I make my favourite version of the beaded thorax nymph:
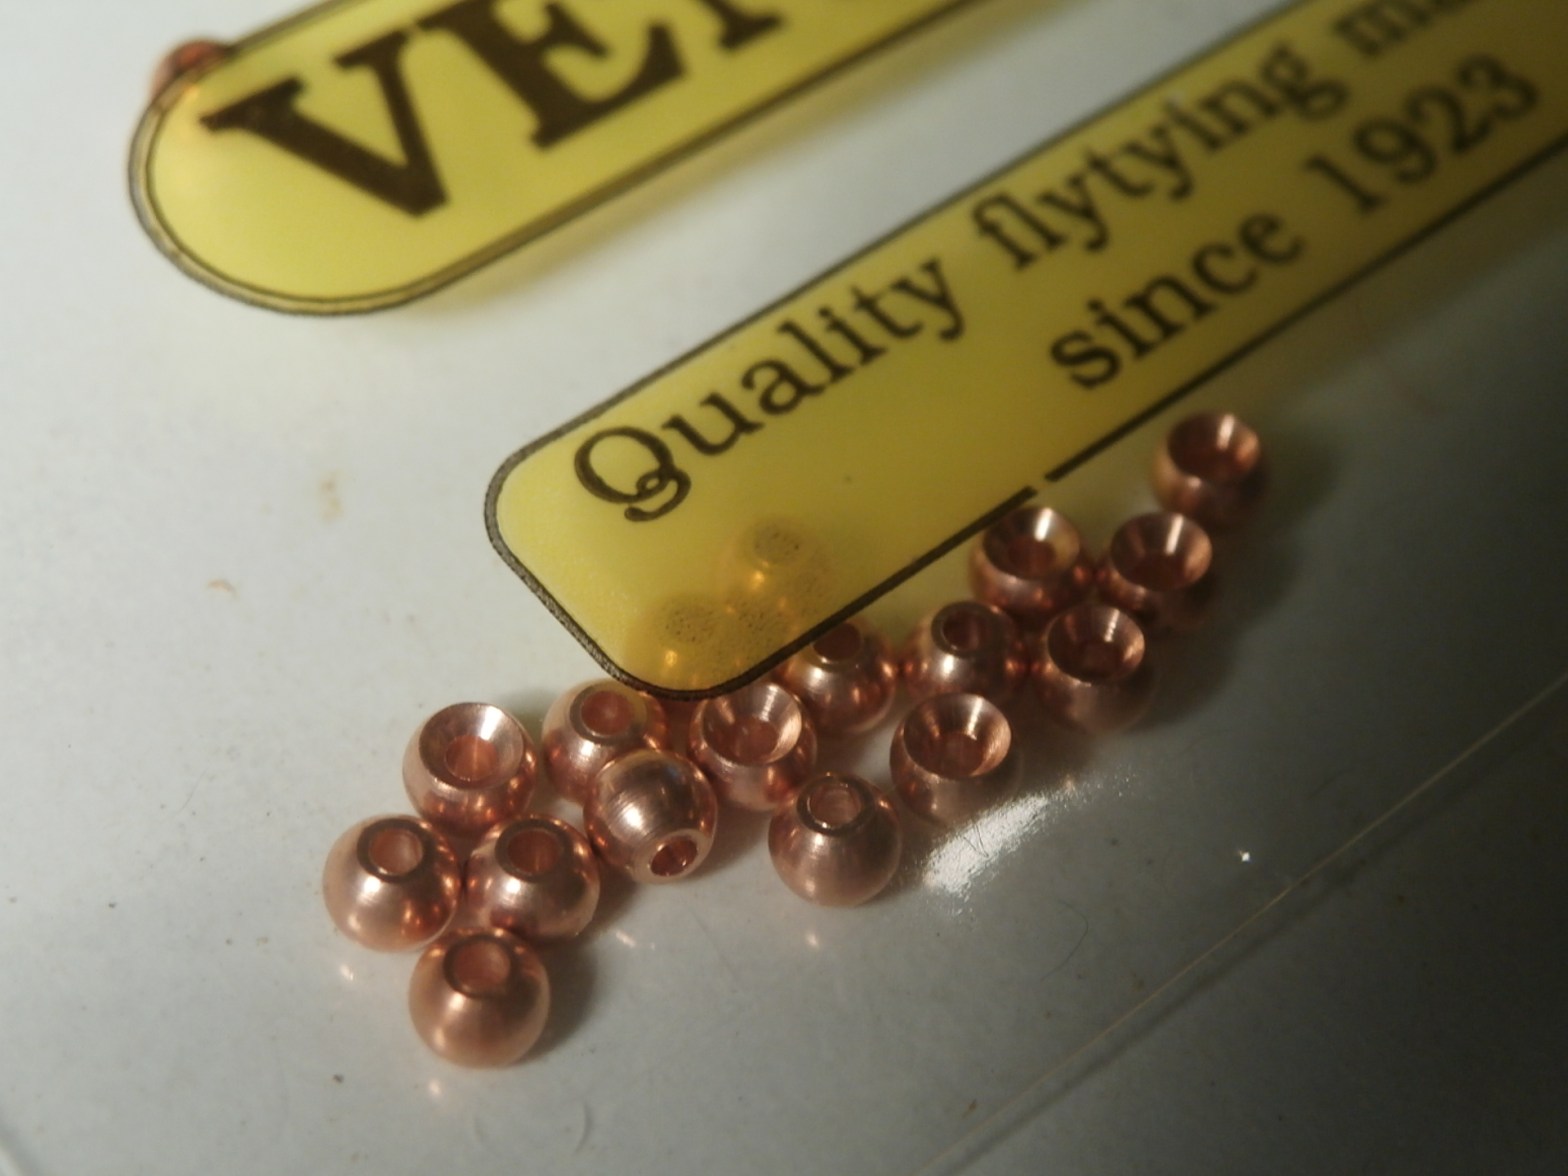
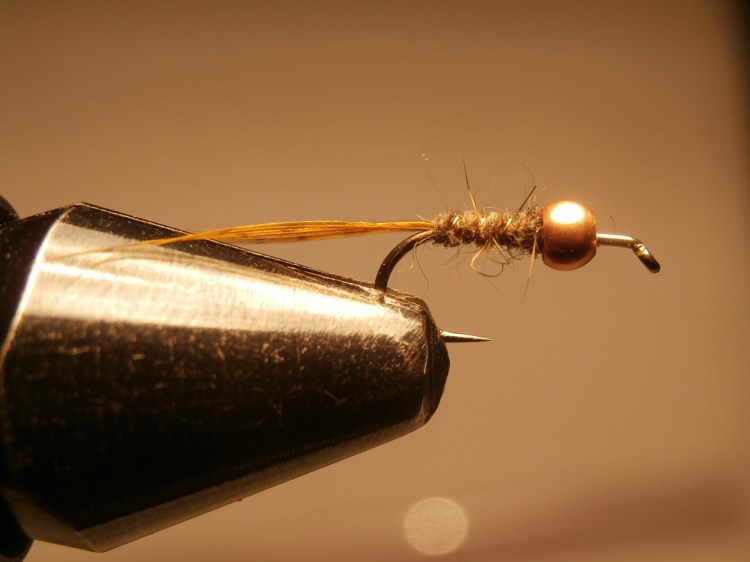
Start by threading a gold or copper bead on to the hook. I normally use a size 14 hook and a 2.8mm bead but you can go bigger or smaller as required to match local requirements.
Now start the tying silk behind the bead.Wind down towards the bend and catch in a few fibres of partridge dyed brown olive.
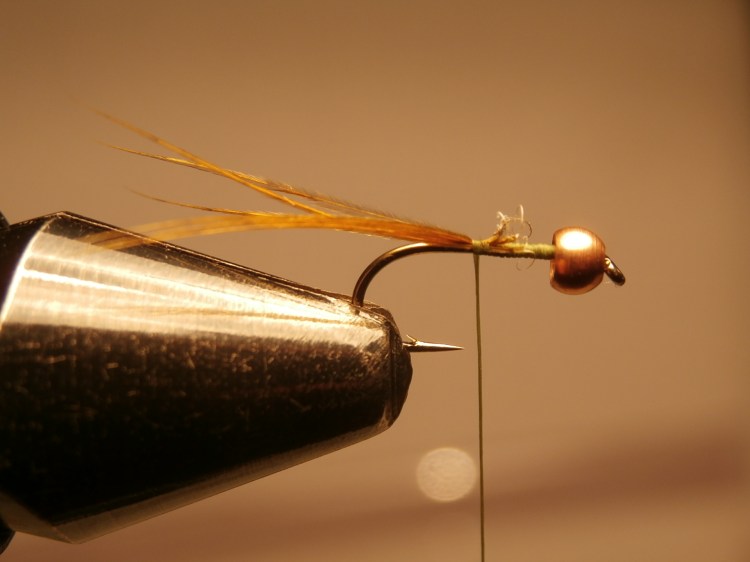
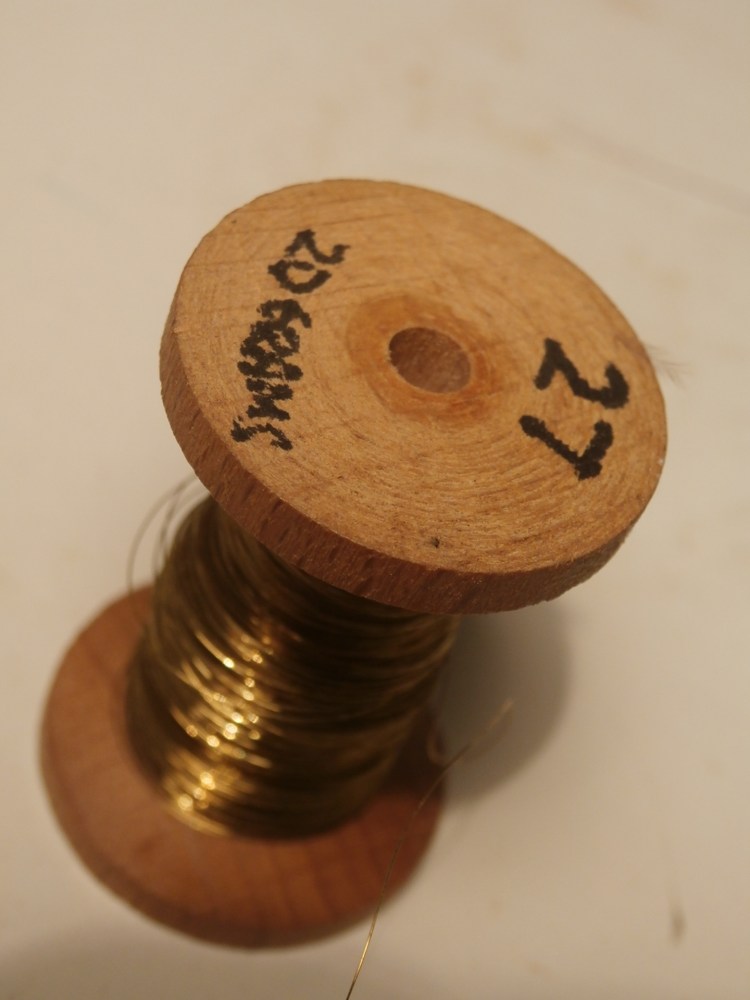
Continue winding towards the bend and catch in length of fine gold wire to use as a rib.
Now dub the silk with hare’s ear fur and wind a thin abdomen, stopping about 2/3 of the way back up the hook shank. Rib with open spirals of wire and tie off with the silk.
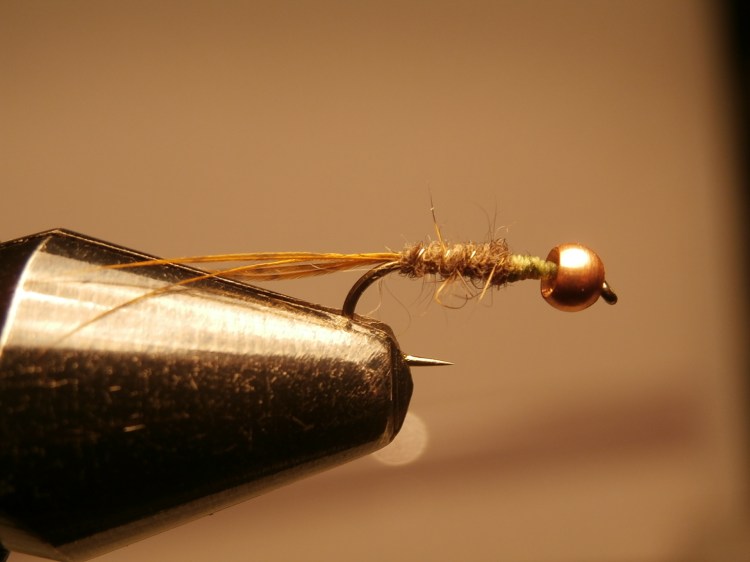
Make a whip finish and remove the end of the tying silk. Now push the bead back against the abdomen, leaving space near the eye.

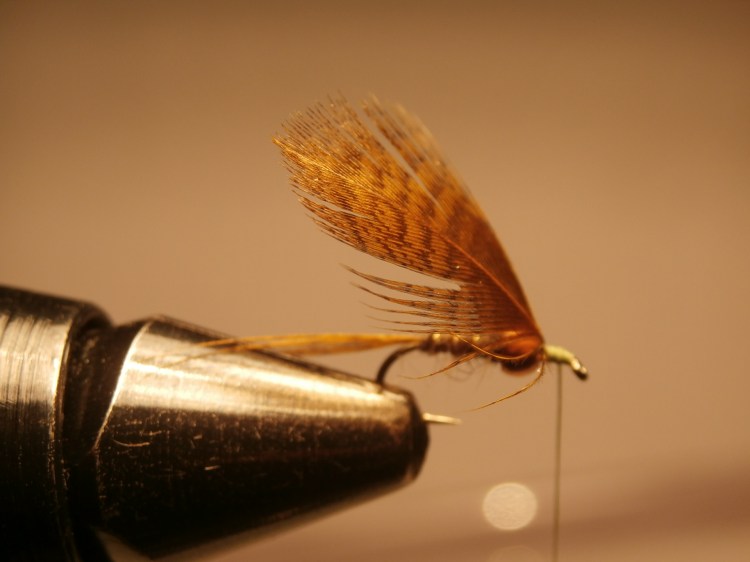
Re-start the tying silk in front of the bead again. Tie in a partridge hackle which has been dyed brown olive.
Two turns of the hackle are made around the hook and it is tied in. remove the waste and form a neat head before whip finishing and varnishing the head.
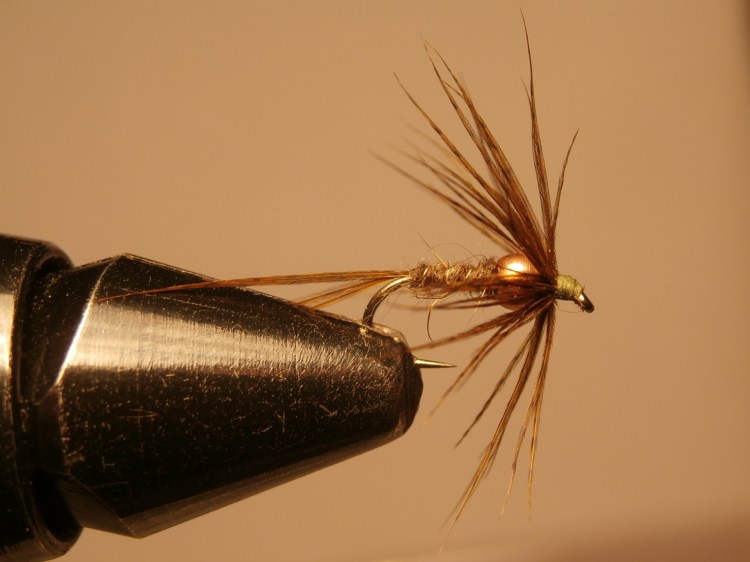
The beauty of this fly is its versatility. It can be used in a wide range of conditions and fished in many different styles, so it is worth making few for your fly box. Colours can of course be varied as necessary but I have found the brown olive pattern illustrated here to be a consistent performer.

