
Messing about again
When I started out coarse fishing a couple of years ago the only floats I owned were a few large Avons which had given sterling service when trotting for grayling on the mighty river Tay back in the eighties. These large cock bodied floats were required over there to handle the heavy flows on that river but they lacked any sensitivity. Knowing that this was not going to be enough now I was fishing on lakes and canals I went through a spell of buying up second hand floats of different types. Sliders, wagglers, chubbers, sticks and the rest were eagerly gobbled up by me. eBay was filled with ‘job lots’ of old floats so it was easy to gather a selection and, let’s face it, bidding on eBay is a bit of fun. This was much cheaper than purchasing new ones and allowed me to acquire all the floats I will ever need in a short space of time and at minuscule cost. After buying half-a-dozen lots I worked out my old floats cost me less than 20p each. The thing is, when buying batches of pre-loved gear there are always some items which are not quite up to scratch, if you will pardon the pun. Broken, bent, discoloured or otherwise defective floats were all gathered in one box to be dealt with at a later date. As I fished over the last couple of seasons other floats which became damaged or worn were also chucked into the box. It is probably just my incompetence or clumsiness but I damage floats on a regular basis. A the last count over 30 floats were tucked away in a plastic box set aside just for this purpose. So now, in the depths of winter and with time on my hands I decided it was time to start fixing up these poor, forgotten indicators, returning them to some level of usefulness.

I suppose the question of ‘why bother’ needs to be addressed first. Floats, especially second-hand ones, are cheap to buy and are readily available. So it is not like I am saving something expensive or rare. For me it is just about the satisfaction of bringing them back to life and getting some use out of them again. I have all the bits and pieces to carry out the repairs / repainting and it is a pleasant job fiddling about with them. There is a satisfaction in finally seeing them fixed up, a warm fuzzy glow when an item deemed rubbish turns out to be perfectly usable once again. I love using something which was thought to be useless or worthless and seeing even one of these floats dipping below the surface as a roach nibbles my maggots will provide me with enormous pleasure.


Floats lead rough lives, crammed together in a box most of the time then hurled out into the water and dragged back through reeds and other foliage. Being stuck up trees, caught in bushes, stood on while unhooking a fish – these dangers and more are the daily lot of the humble float. Add to that they are light and made from easily broken or damaged materials and you see why so many are retired due to injury or discarded if the damage is too great. Most are painted and the paint is easily chipped which at best makes the float unsightly or at worst lets the water penetrate causing it to list or sink. All of the floats in this box, which was nearly full by now, were in varying states of disrepair.
The first job was to sort out the floats and assess them all. I tend not to bother trying to fix damaged crystal wagglers and other plastic bodied floats. These are usually consigned to the bin as they are difficult to repair and are very cheap to buy new. There is no point in being a martyr here, I’ll fix what can be repaired and discard those which are beyond hope. A couple of plastic wagglers could be cut down to remove the damaged piece then the end glued back on. This made for smaller but never the less usable floats. I also salvaged a couple of insert tips which could be used on other floats.


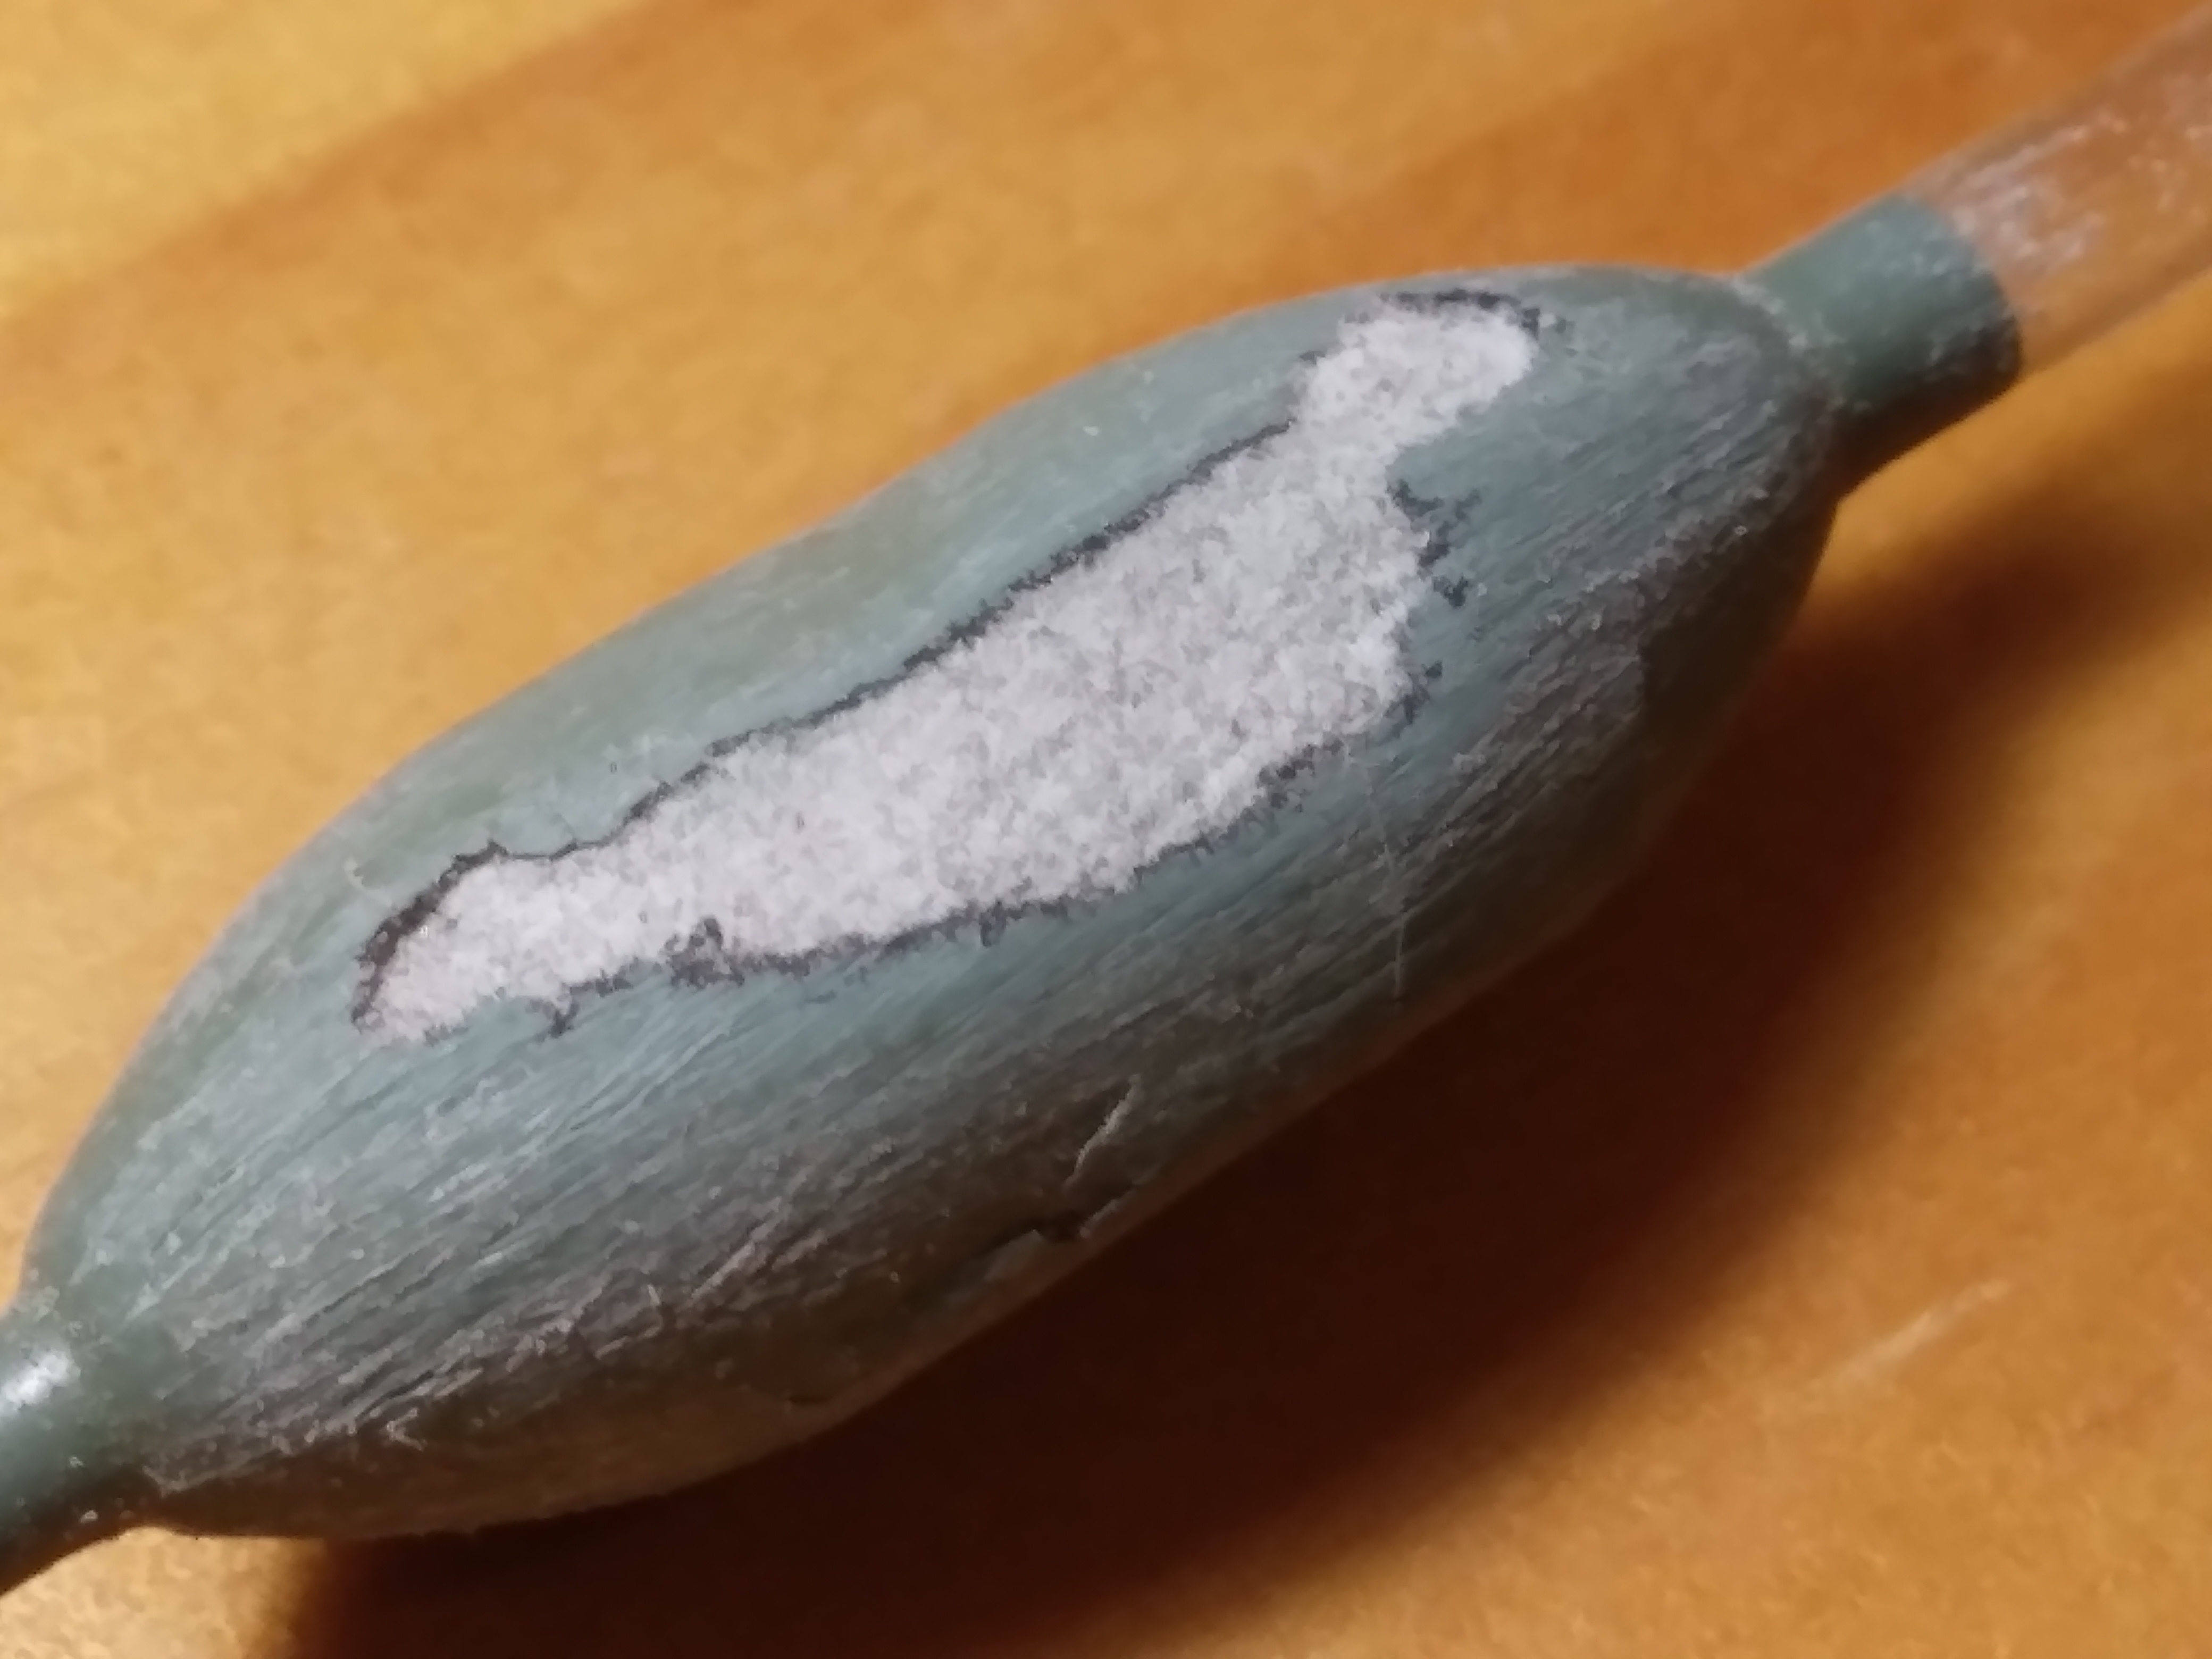
Next I checked over the remainder to find out what kind of repair was required. To assess their flotation I filled a small bucket with water and popped each float in. Of course this gave them a wash at the same time. Some were broken and I did some cutting and gluing (see above photos for an example). By far the biggest majority of the ones in the repair box were simply in need of a lick of paint but a few required more drastic surgery. I own some old pots of enamel paint which do just fine for touching up the paintwork on floats. When I say old I mean very old, I bought them to paint Airfix model planes as a kid.
After cleaning and drying I give each float a rub down with some fine sandpaper to give the paint a slightly roughened surface to key on to. If there is a serious loss of paint I spray a couple of coats of primer before painting the top coat. I don’t always have the same colour of paint as was on the original so I sometimes repaint the whole body of the float, usually in brown. Other colours sometimes take my fancy too though. When it comes to repainting the tips I like to dip the top of the float into the paint rather than try to brush it on where possible. I then stick the freshly coloured floats in a piece of scrap wood with holes drilled in it to dry. A float which requires a total repaint will take 3 or 4 days to complete by the time I paint the body and maybe two or three colours on the tip.

That’s fine if the float just requires a lick of paint but what if more extensive repairs are required? Damaged cork or balsa bodies are filled with a mix of ground up cork from a wine bottle and Araldite glue. This is pushed into the cavity and allowed to set. Once it has hardened off I sand the repair smooth. After cleaning off the dust I repaint or varnish depending on the float.
Broken or missing bottom rings are a common complaint. Some of the secondhand floats also had rough attempts at whipping rings on which looked unsightly and had to be redone. In the past I have replaced missing end rings with the end of a safety pin which I had cut off and whipped into position with heavy fly tying silk. I graduated to using tiny wire loops specifically for the job and found these much neater. A few coats of varnish over the whipping completes the repair. I like that ‘Sally Hanson, Hard as Nails’. Any missing end rings were replaced before painting so I could hang the float up.
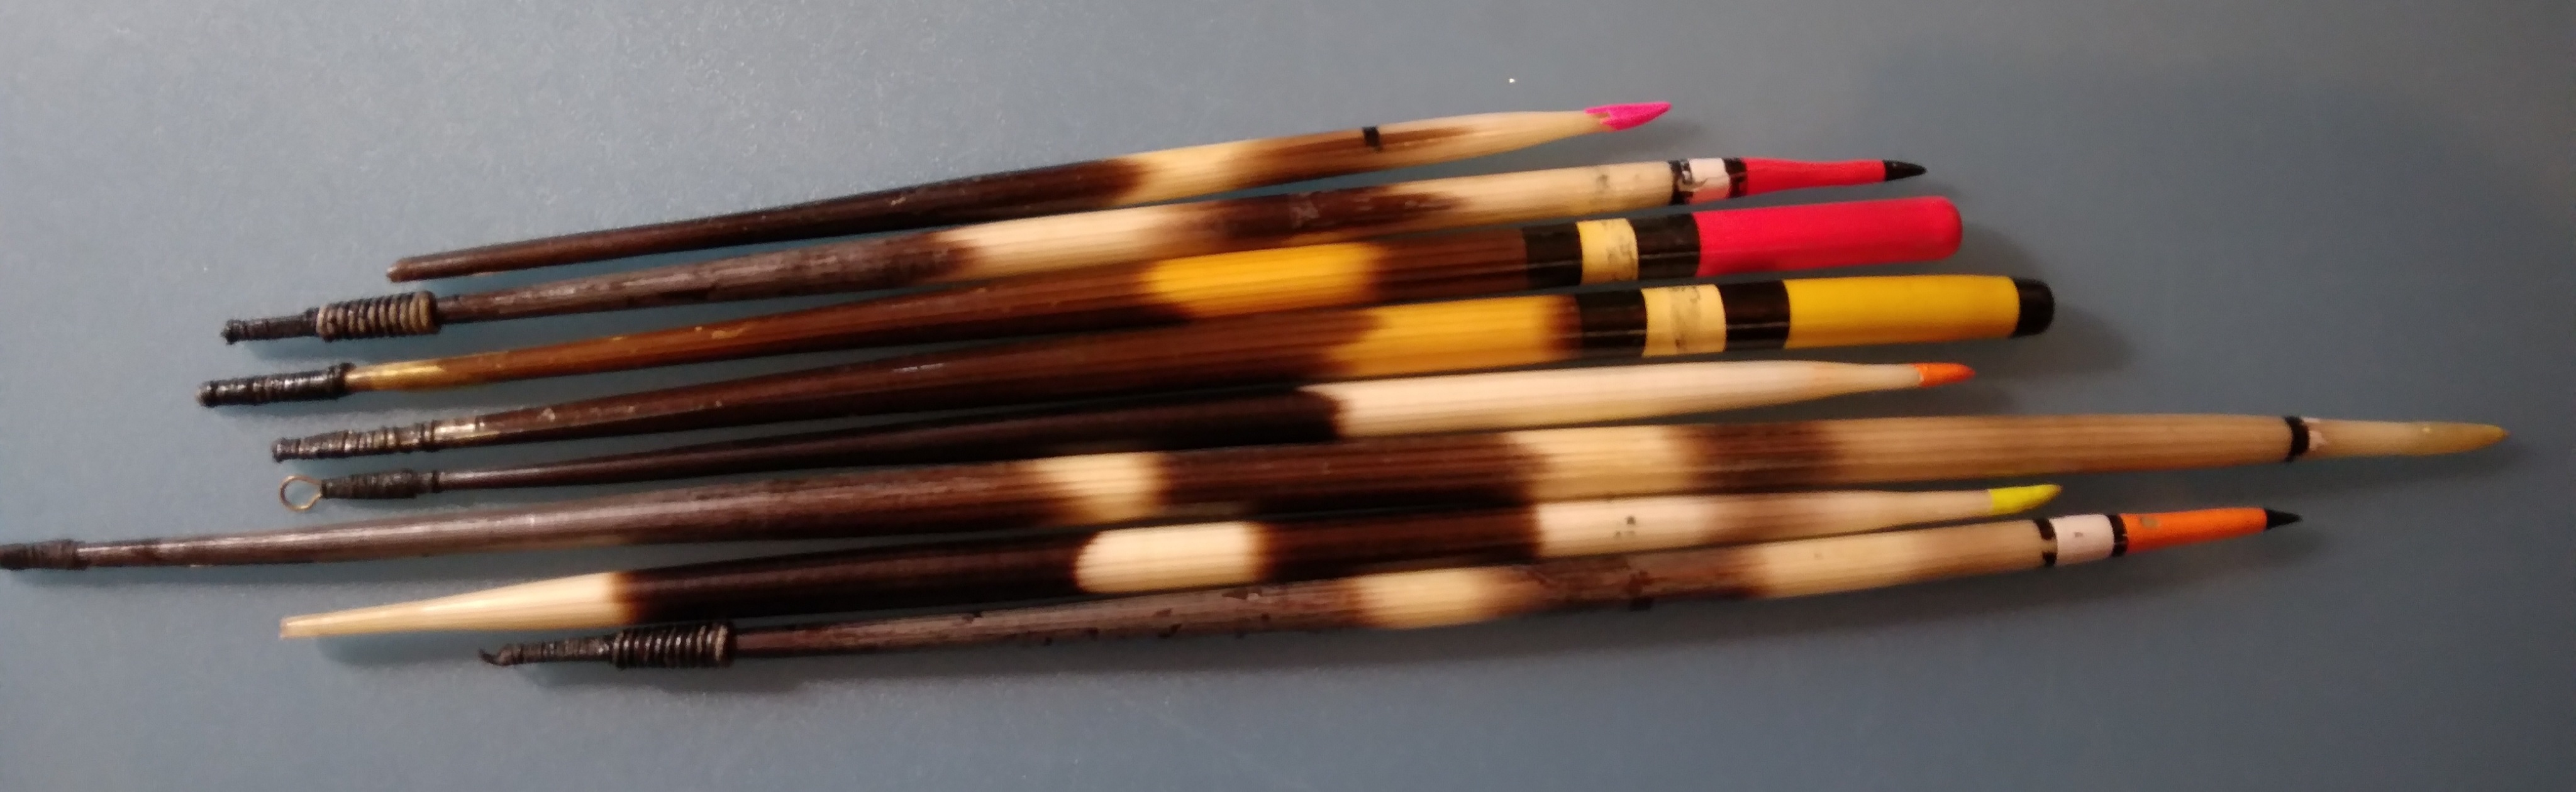
At extremely low cost, I think it was two quid for the lot, I acquired some ancient porcupine quills which were in structurally good order but each one required the tips to be painted and new loops whipped on. I love the idea of using these oldies, seeing them in the water after all those years should be very special.
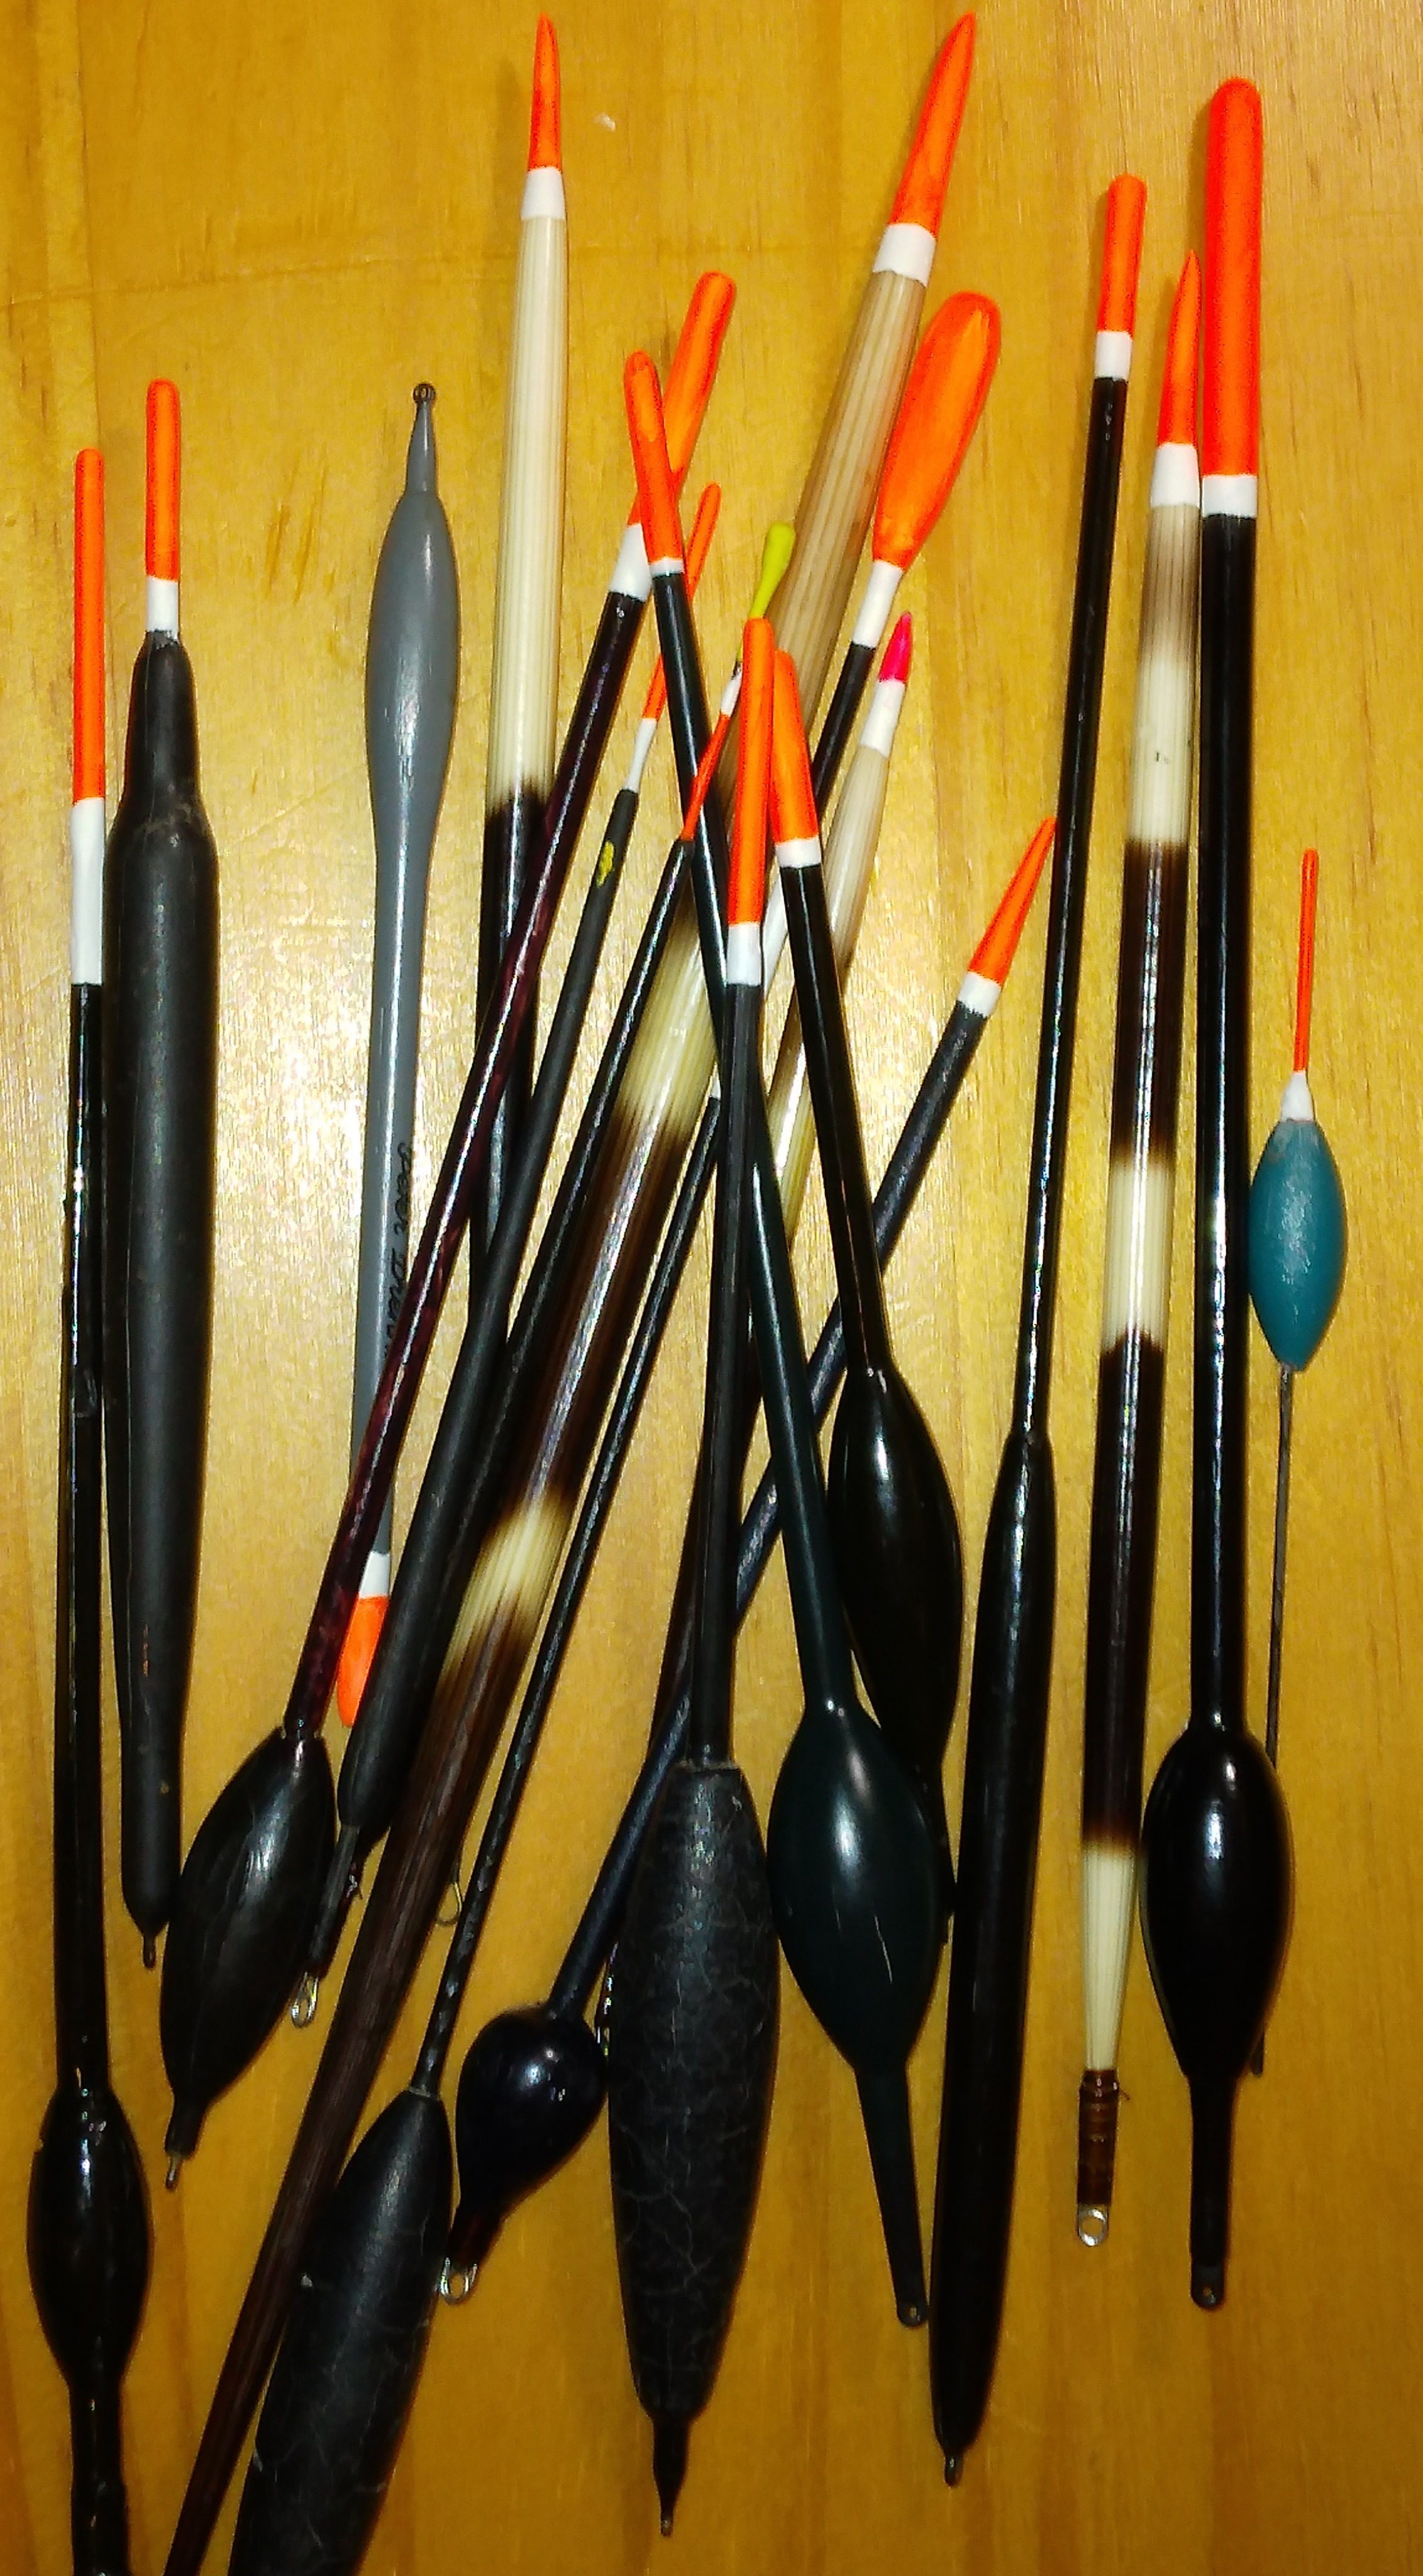
There was one cute little swan quill with a cock body which was very curved due to the shape of the natural quill. I didn’t even attempt to straighten this one, instead I painted it up and will use it for perch fishing in the margins where casting won’t be an issue.
Some of the damage was quite severe and I had to make new parts. Cocktails sticks, skewers, bits of plastic and balsa wood all featured in various repairs. I whiled away a few hours filling and sanding, rubbing and painting, gluing and whipping, all the time remembering days on the side a lough or dreaming of fishing days to come. The waggler that is all chipped after I stuck it up a tree in Leitrim, the big, black antenna which is missing a ring but will be perfect for tench this summer, those ultra light darts that should be good for the canal once filled and painted, these and many more began the journey to rehabilitation. Anticipation is such a big part of my angling these days! Perhaps I just never grew up and the small boy in me that loved messing around trying to fix small things that were broken has survived life’s stresses and still sees messing about with tools to repair old tat as a great way to relax. Taking a tired old float and working on it, taking time to sand it and paint the surfaces until is is gleaming is a small win in these turbulent times but small victories are important too.

You don’t need a lot of tools for this type of work, pliers, files, sand paper, wire cutters, small brushes and a good knife is pretty much it. Even these tools in my box are old and some salvaged. My late father’s tools ended up in my possession and many of them were of great age when he owned them. No doubt a few came from the trawlers he worked on for most of his life. As a kid I adored ‘helping’ him fix the succession of old cars he used to own, passing him tools as he lay under some old Austin or Morris, hammering at the leaky exhaust or changing a suspension bush. He taught me how to set the gap in the points using a piece of cardboard from a fag packet, how to change a wheel and memorably, how to lift an engine out of a Vauxhall Viva without a hoist. Simpler times. I never really got around to thanking him for passing on those skills and he died at the relatively young age of just 65. We all take our parents for granted too often.

The logical next step for me is to start making my own floats. I like the idea of this and might have a go at it when I retire and I have some time on my hands. The thing is, I already own too many floats, more than I could every use in my lifetime. I have spares of the most frequently used types so there is no need to make up more. Just making floats for the sake of it seems a bit pointless. I am thinking about making my own feeders though………..


There is something quite satisfying about bring old and damaged floats back into action.
LikeLiked by 2 people
I’m looking forward to the first lift bite on one I fixed up!
LikeLiked by 2 people
Neater than my painting, but unusually I do have to disagree with you on one point. Making floats, whether necessary or not, is never pointless. However, I am, of course, biased.
LikeLiked by 1 person
Afraid it is a question of excess on my part. I bought loads of old floats, partly because I kept seeing ones I thought I might need and partly because i figured a high proportion would end up in the bin. It turns out only a handful were broken beyond repair so I ended up with far too many. Then I was donated another 70 floats, pretty much all of which are in perfect condition. I’d need to fish for three or four lifetimes to get the use of them all! It is a pity really because you are right, it very enjoyable making or repairing floats, i loved pottering about with them.
Hope the Covid situation is improving with you and mrs. SB
LikeLiked by 1 person