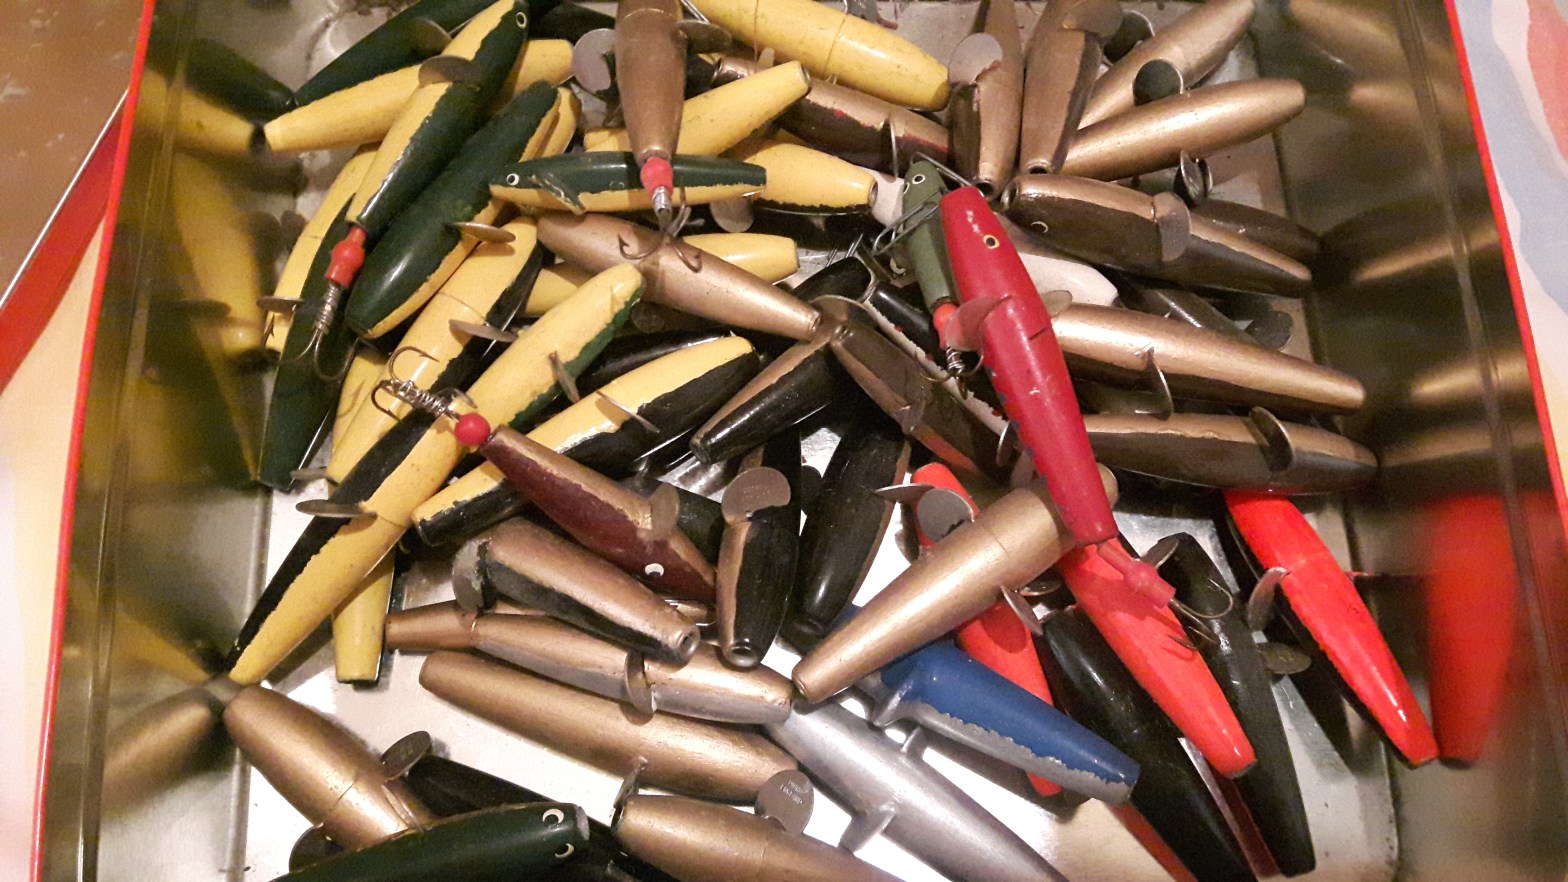
If you have been following this blog you may recall that I am planning on doing some trolling this coming season and trying out some new baits. Over the winter I have amassed loads of old ABU spoons, devon minnows, a few plugs and assorted Kynoch’s, some of which were in poor condition. My plan was to freshen the dodgy ones up with a lick of paint. This would give me the chance to try out some new colour schemes. It turns out that my initial thoughts that a couple of pots of paint and few brushes was all that would be required fell far short of what I actually ended up using.

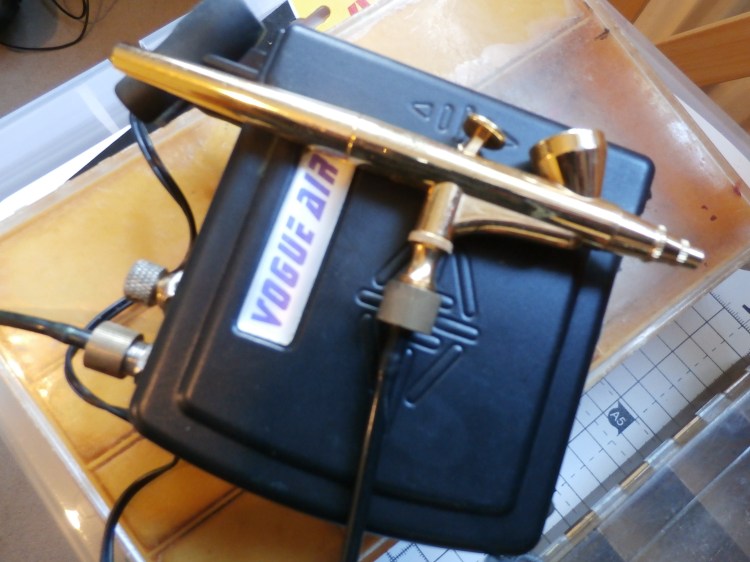
As planned, I bought up some small tins of different colours of acrylic paints and cheap brushes. After fiddling about with these and ending up less than impressed with the results, I decided that an small air brush would be a better tool. That was when the situation became a good deal more serious. In my innocence I imagined air brushing was easy and required the minimum of kit – how wrong I was! Compressors, regulators, needles, washing stations, brush holders – the list of ‘basics’ required became overwhelming so I abandoned the air brush idea for a while.

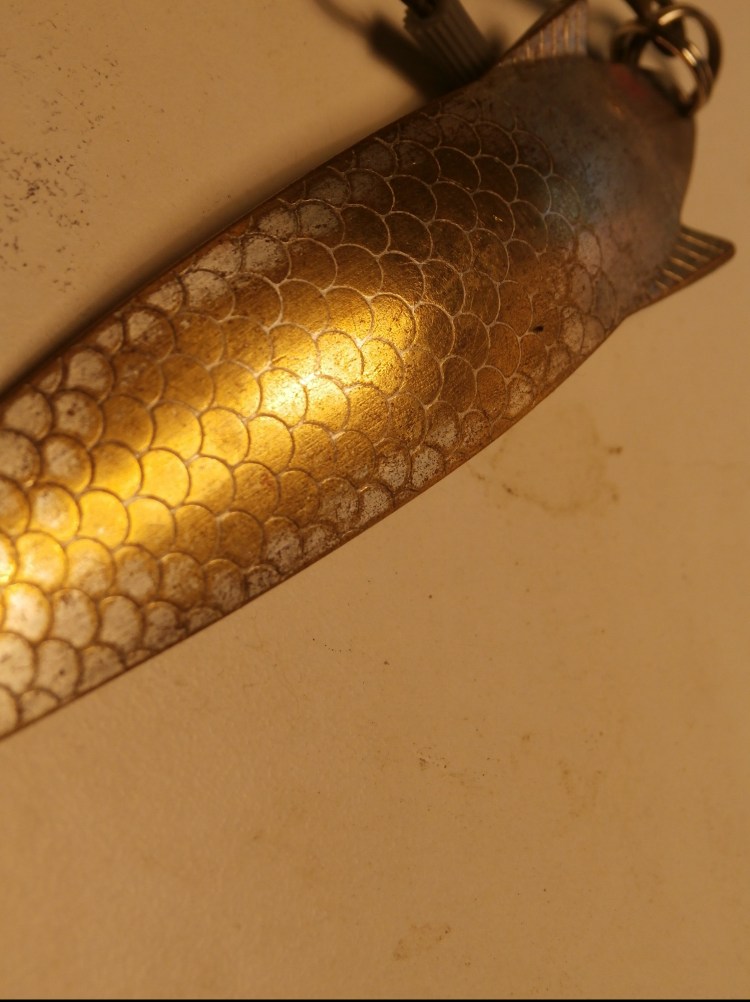
In the past I painted devons with enamel paints used by model makers. I still have some of the tiny pots and they still give a reasonable and durable finish, but times have moved on and a new method of painting lures has replaced the old enamels. The acrylic paints I am now using are not waterproof so the lures need a couple of coats of epoxy resin on top to seal and protect the vibrant new colours. Ignorance of the implications of using epoxy led me to think this was just a case of mix up the two part epoxy and slap it on. Nope, there was MUCH more to it than that. 5 minute epoxy does not dry in 5 minutes you see. The 5 minute means it is workable for 5 minutes, it can take days to actually dry and during that time you have to keep the bait moving. A bit more research revealed another world of people who build huge contraptions which slowly rotate so that their prized custom painted baits can dry evenly. I was beginning to feel like I had opened Pandora’s box.
I still wanted to be able to repair and upgrade existing baits and also create new colour schemes for trials. Looking at the burgeoning box of assorted paints I felt that I had come this far so I had better see the project through. With a few weeks of my contract working away from home still to be completed, I decided to invest a little more cash in the last few tools and be in a position to paint my baits when I had time off in March. At that time I still needed:
- A basic air bush kit consisting of a compressor, hose, air bush thinners and cleaning station
- A rotary dryer
- a spraying booth
- More paints
- Epoxy
- measuring and mixing gear
Instead of spending a lot of cash on a ‘proper’ compressor I purchased a second-hand one which had been designed for spraying make up! I figured that all I wanted was the ability to spray a reasonably even coat on the lures and fine detail was never part of the requirements. So I parted with €20 and got a neat little compressor and air brush with a hose and power lead. I’ll write about my learning curve with air brushing in a later post.

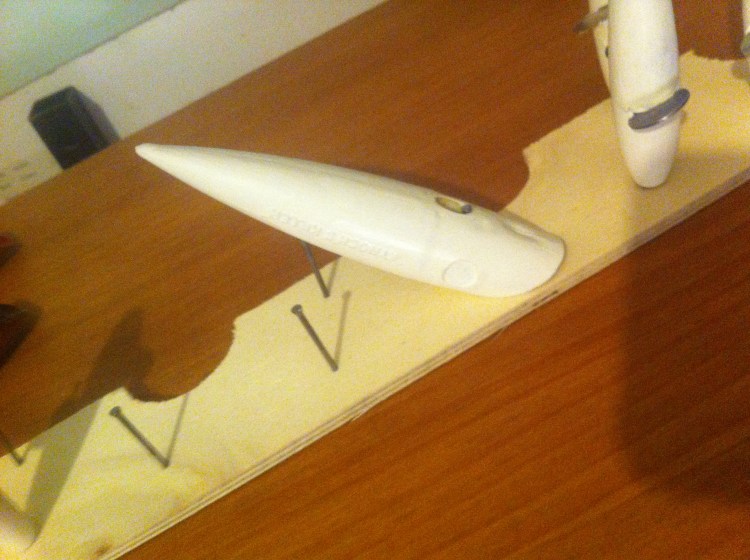
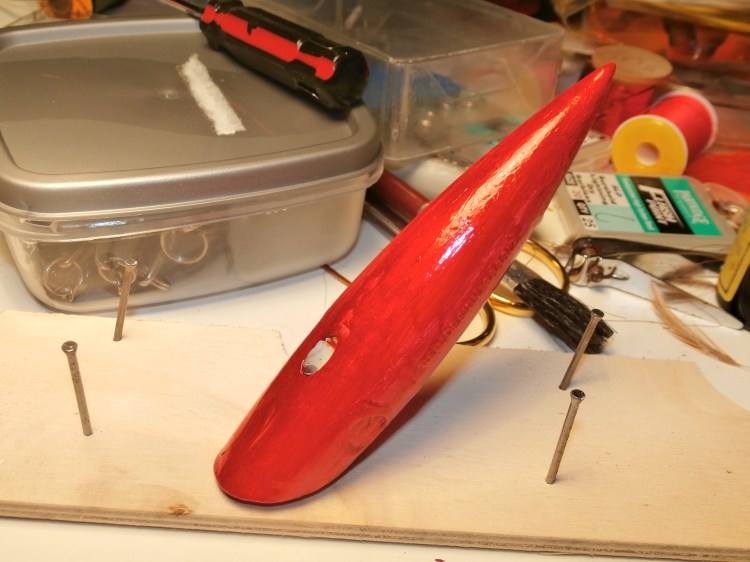
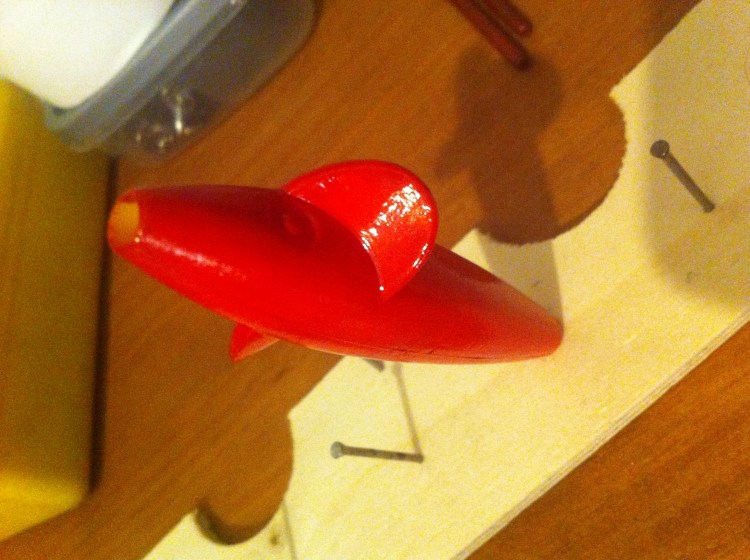
For now I am concentrating on preparing the baits. Some need straightening of patching. Missing or broken fins need replaced on some of the devons and everything needs sanded down to remove rust, dirt or flaking paint. Then it is time for base coats to build up a nice, flat, even surface for the new colours to go on too. This is time consuming work but it will be worth it in the end.


Hi claret bumble.
One effective method would be to cover minnow in silver adhesive tape,varnish teal feathers oner 2/3 on top, (leave a silver line) and use glass paints(vitrail) in dark brown,orange,red, claret,etc,or mix them to suit.These are Featheros.
Another option is to blend nail varnish, now very available,
However, the weight is crucial.21/2″ wooden troll should be around 12 grammes, and the pattern is also.
LikeLike
hi Mike and thanks for getting in touch. I have toyed with the idea of replicating the Featheros but have not got around to it yet. Definitely agree with you about the weight of the minnow for trolling, too light and they fish high and are worse than useless.
LikeLike