This is going to be a short post which may help some of you to make neater and stronger flies. Many patterns call for tags at the end of the body of the fly. Historically tags were part of fully dressed salmon flies (think of Jock Scott, Durham Ranger etc). These allegedly provide ‘aiming points’ for the fish, which may or may not be true. Tags, especially fluorescent ones, do seem to improve the attractive qualities and these days many modern patterns incorporate them in their dressing.

Tags used to be generally made from tinsel, flat, round or oval but silks have become more popular of late and these present a specific problem. When tied in the usual manner and simply wrapped around the hook the slippery floss tends to slip around the bend of the hook, leaving fly which looks untidy and a tag which is easily broken by the fishes teeth. Here is an easy way to stop that happening.
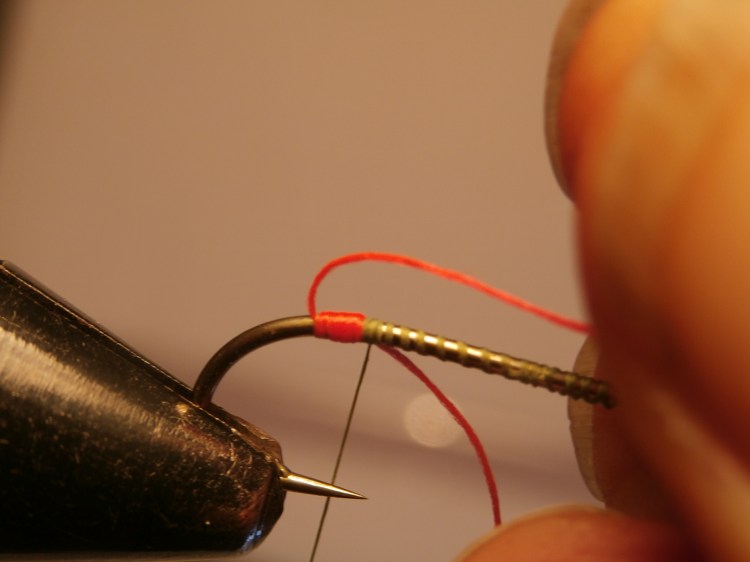
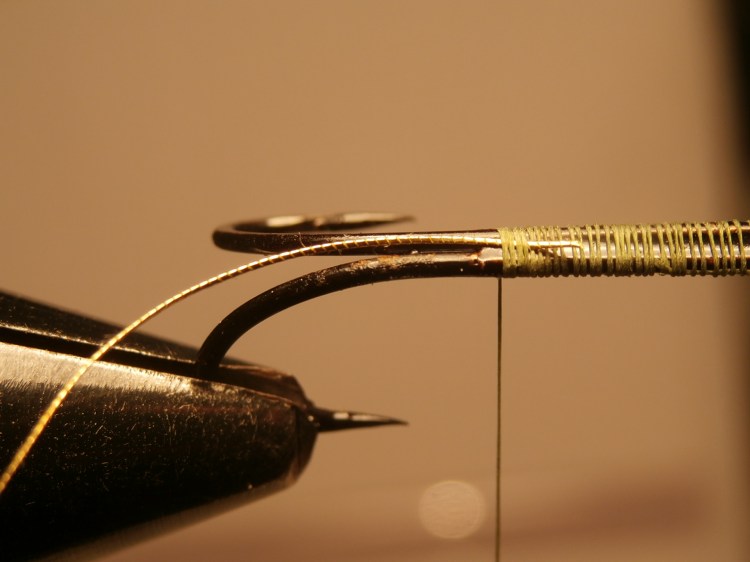
The tag is going to be the first item wound around the hook after the tying silk. Run the tying silk down to opposite the barb of the hook. For the photos I m using a Kamasan B175, size 6
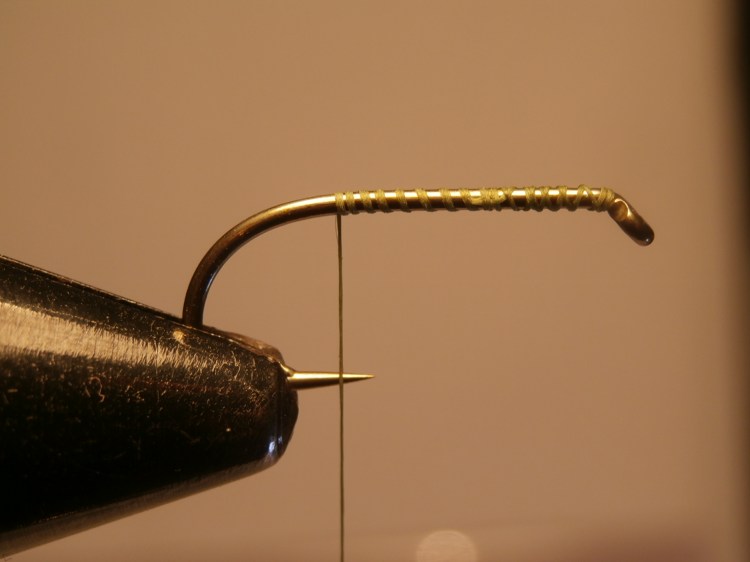
Now cut a length of floss, in this case I am using Glo-brite no. 4. This is the crucial part, tie the floss in ‘backwards’, this is with the waste end pointing away from the hook eye. Leave this end around one or two inches long or whatever you feel you can easily work with.
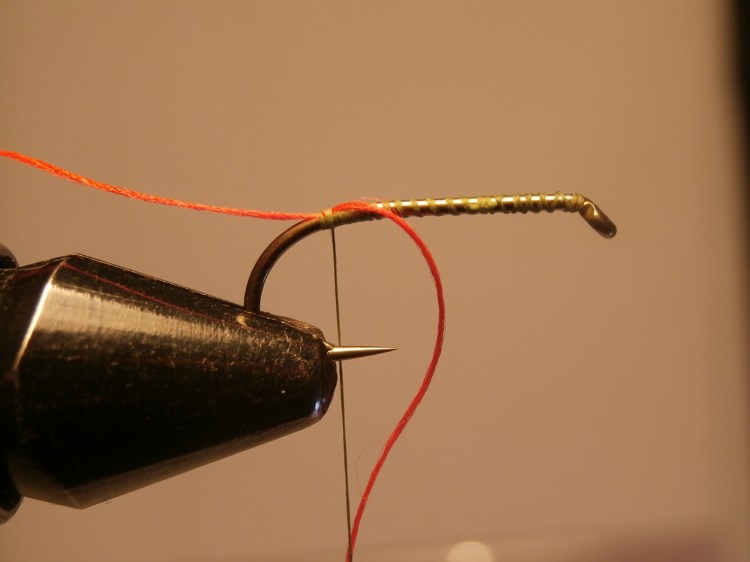
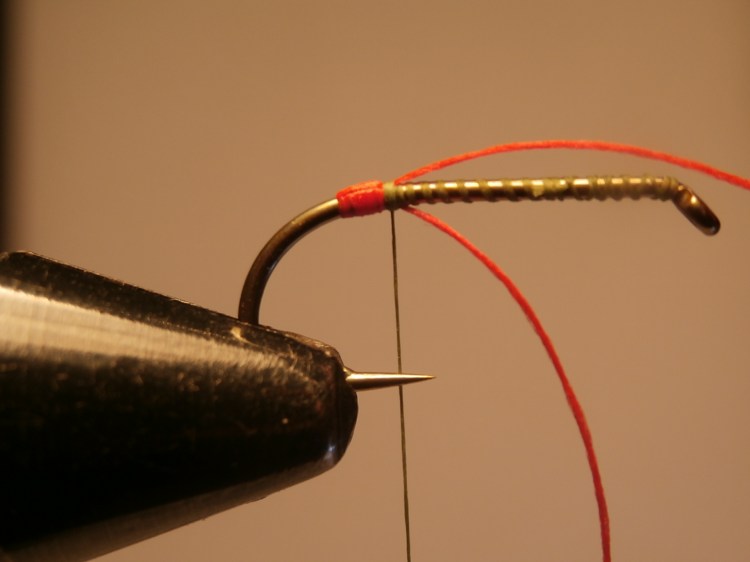
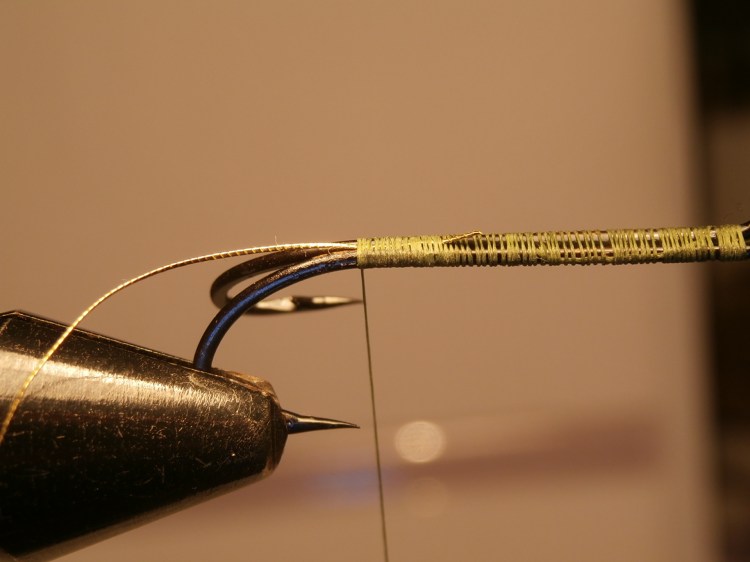
Floss is a slippery material so make sure you are using tight turns of tying silk when tying it in. Now run the tying silk back towards the hook eye the distance you need for the completed tag.
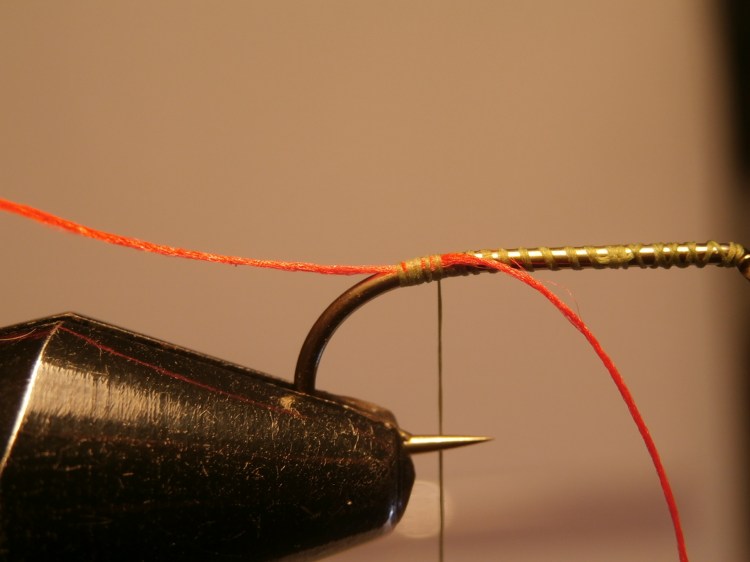
Leave the waste end just sticking out there for now and take the main part of the floss and wind it in tight, neat turns down to the point where the floss was caught in then back over itself again, creating a double layer of silk.

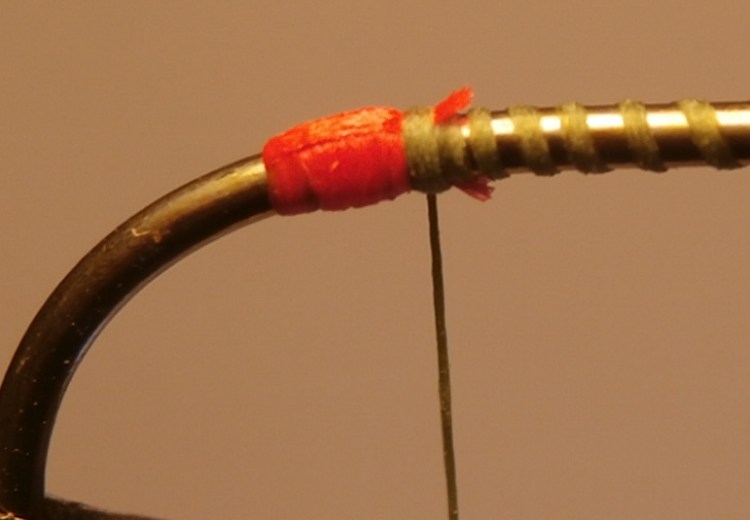
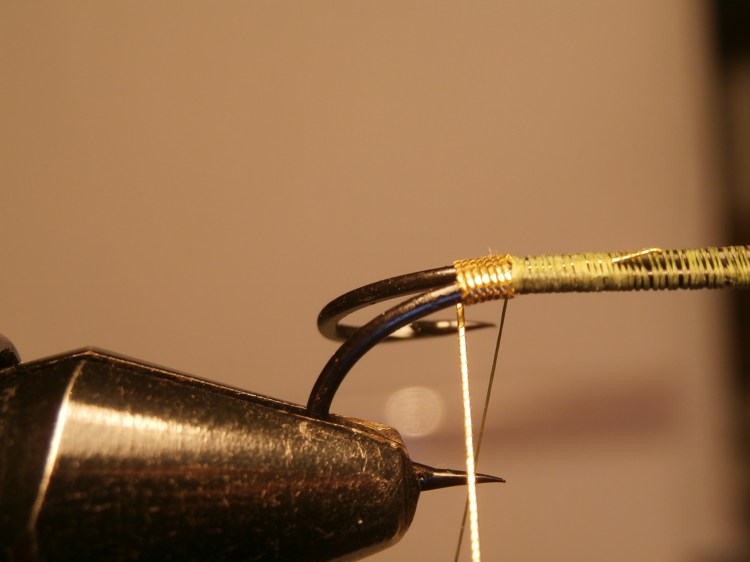
Tie in the floss with the tying silk. Now take the waste end and loop it over the tag and tie it down tightly with the tying silk.
Remove the waste ends of floss with scissors.
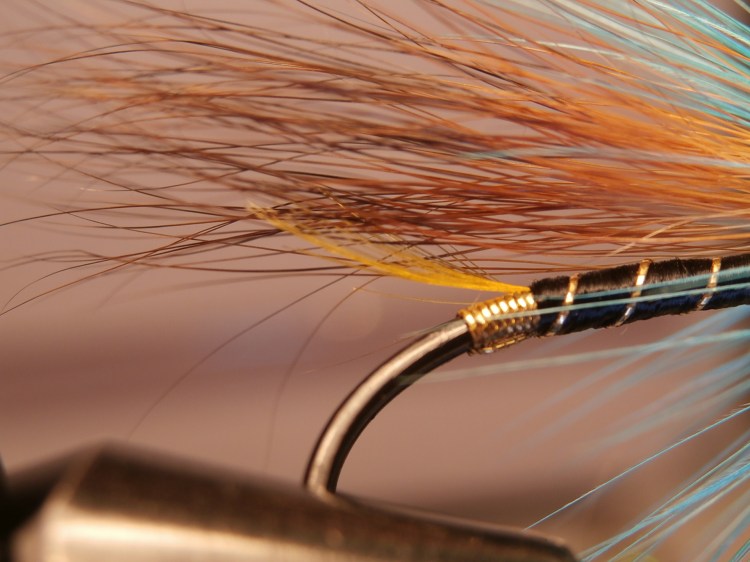
By using the waste end to ‘trap’ the wound turns of floss the tag is now secure and won’t unravel or slip around the bend of the hook.
While I am talking about tags let’s take a look at how the same idea is adapted for use with double or treble hooks. This is the method I use and I know that many other fly tyers are using the same concept, but for those of you who don’t know about this wee trick I will run through the it step by step.
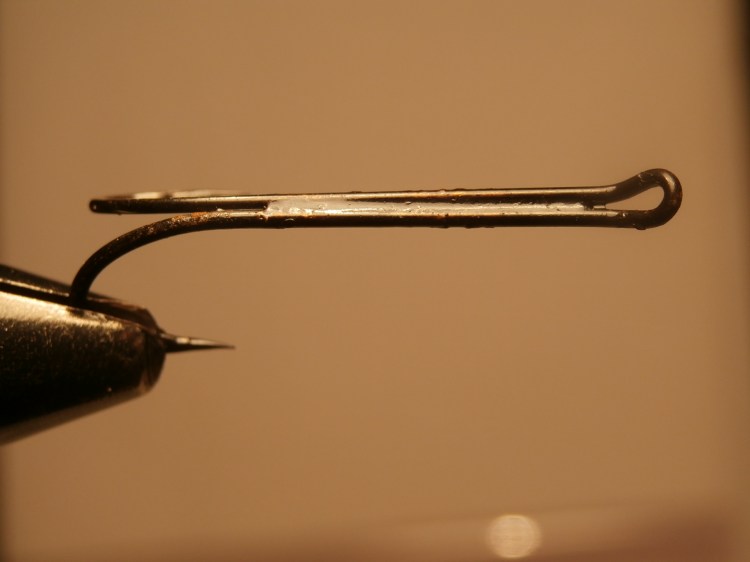
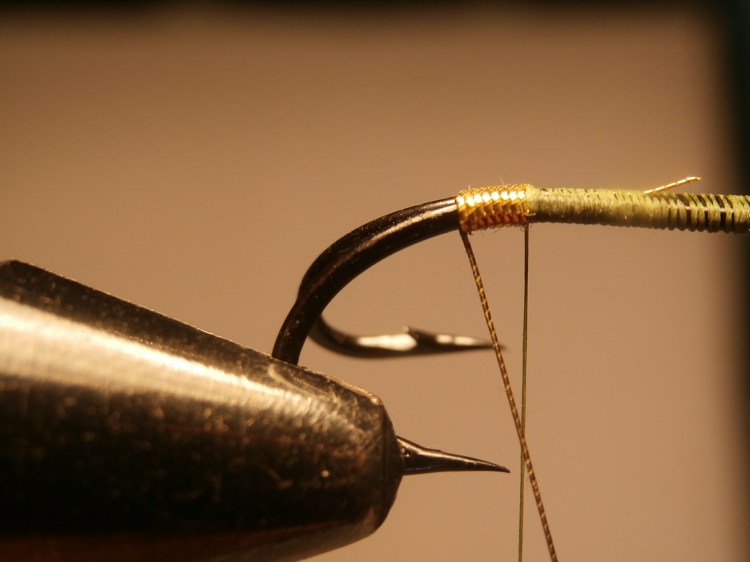
Here I am using a size 6 double iron. As you can see from the photo, the brazing on this particular hook is not the best and there is a groove running all the way down the shank where materials could slip when being tied in. Hooks like this are fine to use, but make sure you run close turns of tying silk down the entire length of the shank so there is a firm base to tie on to.
Start the tying silk near the eye and cover the shank in close turns until you reach the point where you want the tag to come to. The waste end this time is facing towards the eye of the hook. You can keep the waste end short (as in the illustration) or make it the same length as the shank. The latter gives a smoother body to the finished fly.
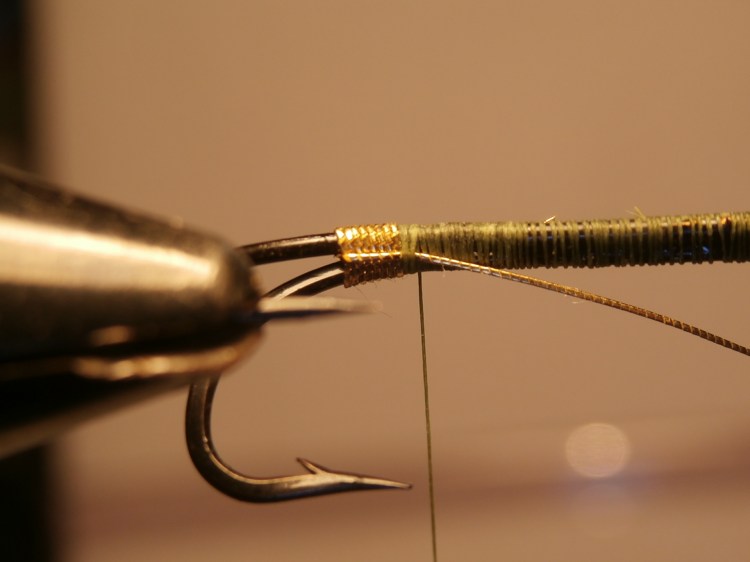
Now begin to wind the oval tinsel away from the eye, wrapping around both ‘legs’ of the double hook. These turns need to be tight and touching, so take your time and be neat with these wraps.
The number of turns will depend on the size of the hook, the width of the tinsel and your own preference. Between 4 and 6 turns is probably the norm.
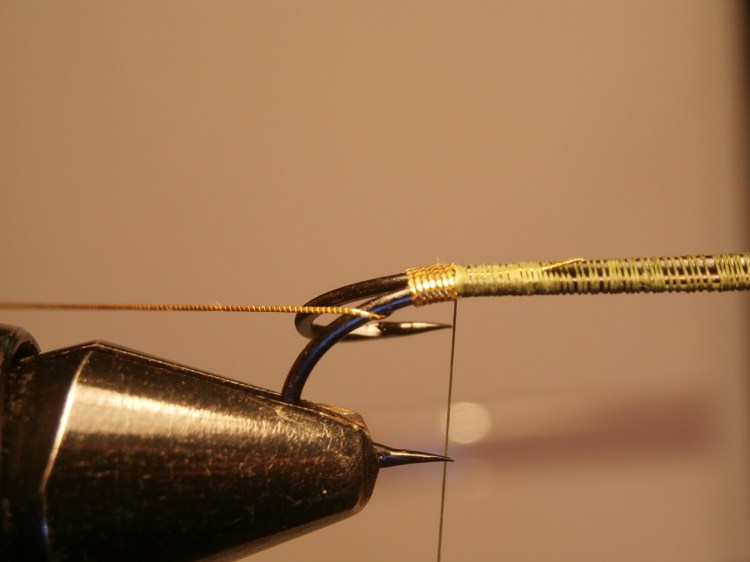
Once you have enough turns take the oval tinsel and wrap it around just the ‘leg’ nearest to you and pass it under the hook.
Pull the tinsel tight along the underside of the hook shank and tie it in with a couple of tight turns of tying silk.
Remove the waste end of tinsel and there you have it!.
As with all fly tying instructions it is way easier to do in practice than it looks in the sequence of photographs.