Over the years I have often written about dying fly tying materials but never gone into any great detail. Since I was dying a few things today I thought perhaps it is time to address this subject?
One of the big questions is why bother? These days you can buy just about any material in any colour, so does it make sense to mess about with dyes and mordants and cleaning solutions instead of simply ordering what you want online? I personally think it does, but that is because of the types of flies I make. If I lived in UK and fished mainly for rainbows on stocked lakes I doubt if I could justify dying my own materials. The bright, and sometime garish colours used on many rainbow patterns are hard to dye unless you have access to pure white materials and anyway they are easily purchased. The same goes for the tyer who specialises in salmon flies, the range of colours is limited and all are commonly accessible. For me though, the subtle shades of olives and browns which are a big part of the colour palate here in Ireland are not always easy to find. Added to that the cost of premium quality dyed materials and suddenly it feels like dying my own is a good idea. Oh, and it is good fun too!
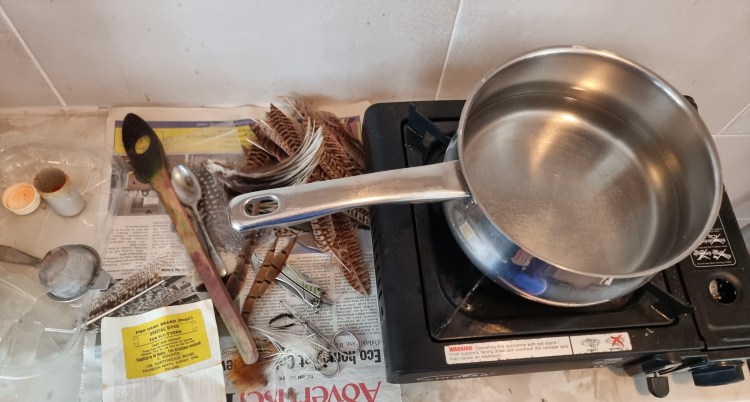
Step 1. Gather together and prepare all the materials you want to dye. This saves you hunting around in the middle of a dying session for that cape you had planned to use or the stray bag of feathers which you were sure was in the box with your dyes. Preparing the materials means scraping all excess fat of of skins before cleaning them and cutting any large feathers into smaller pieces so they will fit comfortably into the dye pan. Look out all your tools and dyes. An old pan, a spoon, something to stir with, lots and lots of newspaper to cover all working surfaces, a strainer, and an old towel to clean up. Obviously you require your dyes, a mordant (usually vinegar), access to a sink and water and a source of heat. For those of you who habitually wear Versace or Armani, I suggest you don an apron over your clothes as splashes of dye are almost guaranteed. Latex gloves will also prevent your fingers turning fiery brown or whatever shade you are working with. I managed to negotiate access to our utility room since dyeing in out new kitchen would have incited WW3 with ‘er indoors (and rightly so). I am very lucky as, while doing the kitchen, we also installed a small sink in the utility room, specifically for cleaning the cats feeding bowls and I erected a worktop to make feeding times less stressful. All that works great and now the small room with running water makes a neat spot for my dyeing.
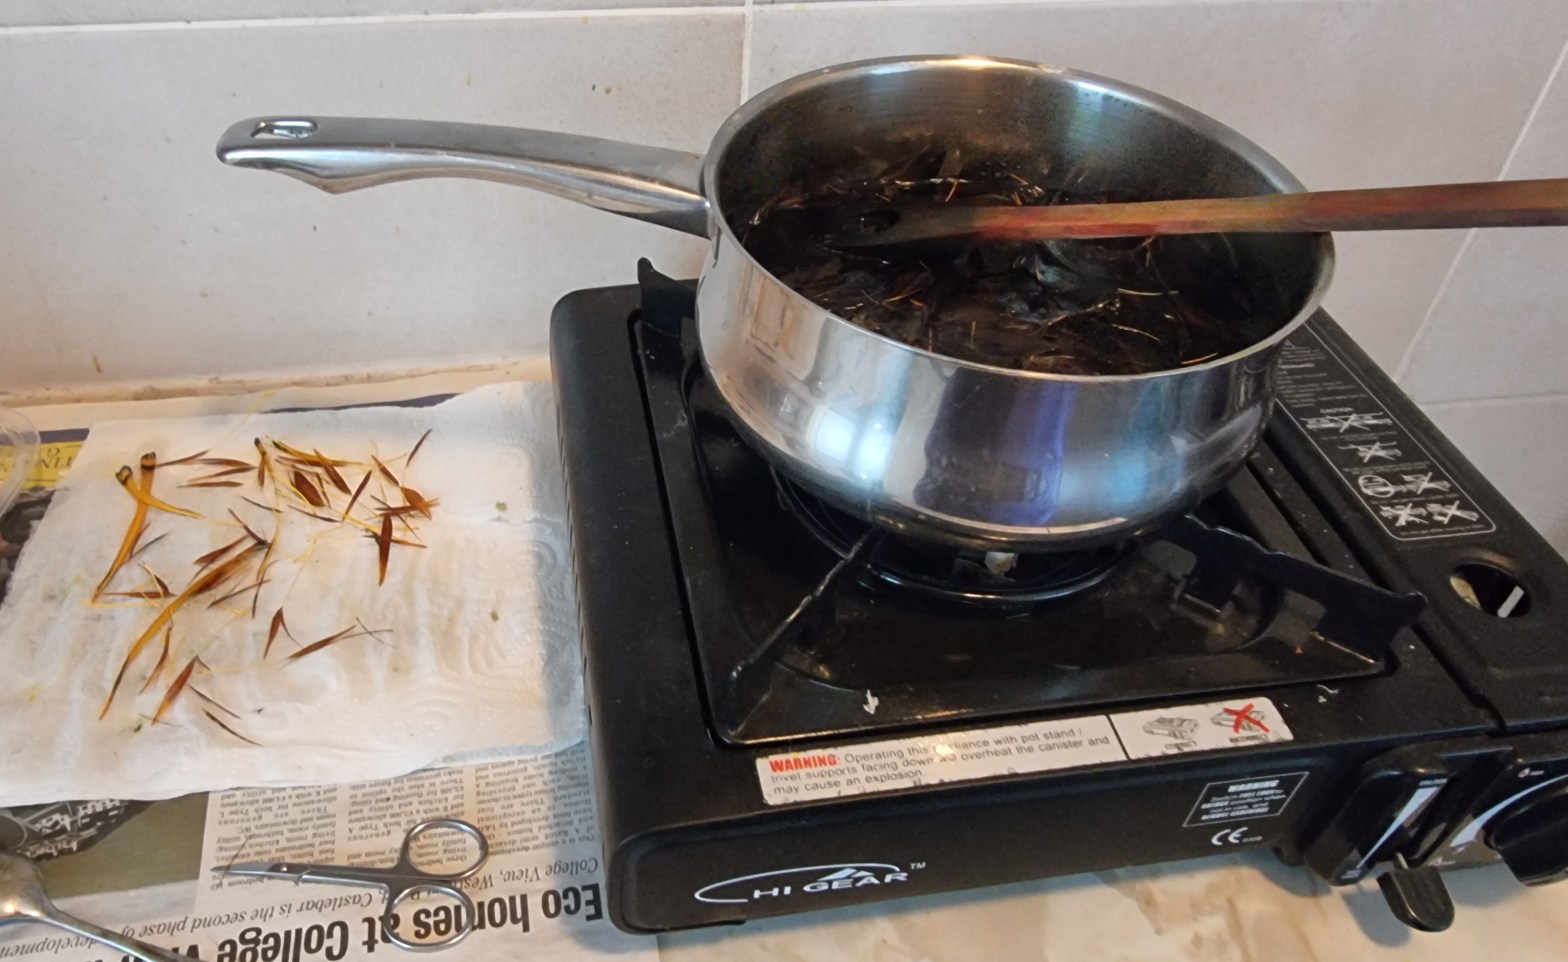
Step 2. Heat some water in a pan. How much will depend on the quantity of materials you are dying. Keep it to the minimum, no point in diluting the dye too much. Once it boils, turn the heat down and give it a stir before adding the dye. Dyes are very concentrated so be careful not to add too much. A quarter of a teaspoon will do you for a few feathers or a single cape. Gently stir the pan to keep the materials moving and not sticking to the bottom and also to allow the dye to spread evenly across the materials. Do not be alarmed at the colour of the water! It will bear no relation to the final colour you are wanting, so don’t panic. How long to keep the materials in the dye will vary a lot. Check frequently by holding a feather up to the light. Most dyes are made up of three different colours, each will take to the feathers at a different rate. I find the colours change rapidly with some dyes and more slowly with others, so be vigilant.
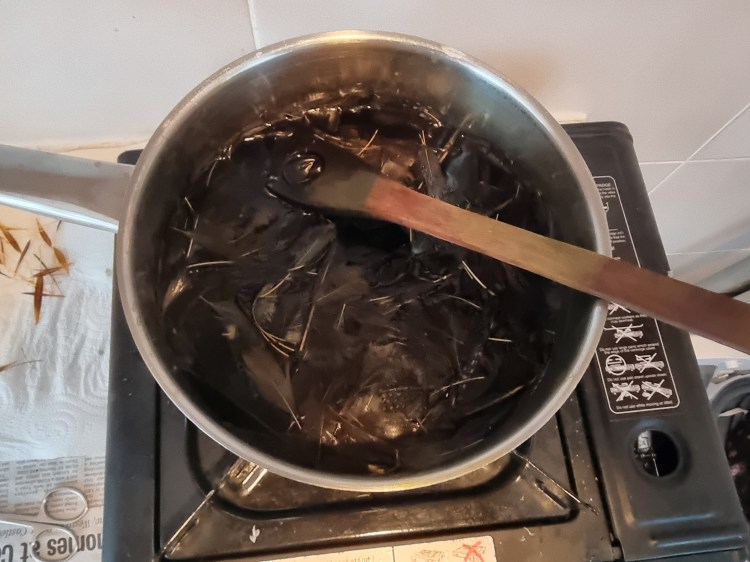
Step 3. Add the mordant immediately you have reached the right colour. This fixes the dye to the feathers, so don’t be shy with the vinegar. Be warned, the smell is pretty repulsive. Stir for another minute or so then pour the contents of the pan through a sieve and let the water run down the drain of the sink. Your materials are now safely in the sieve and can be thoroughly washed under a running cold water tap.
If you are dyeing a few different colours you now need to wash out every trace of the dye from the pan, spoon and stirrer before refilling with clean water and starting the process again.
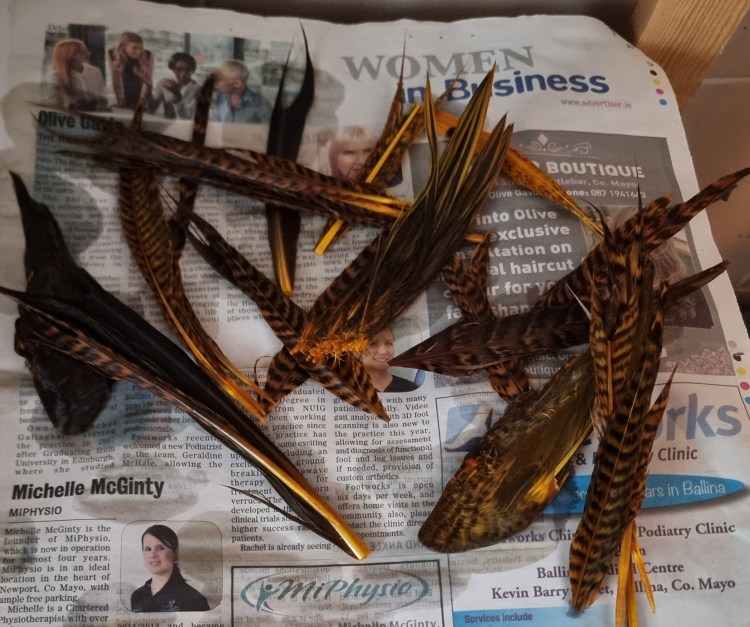
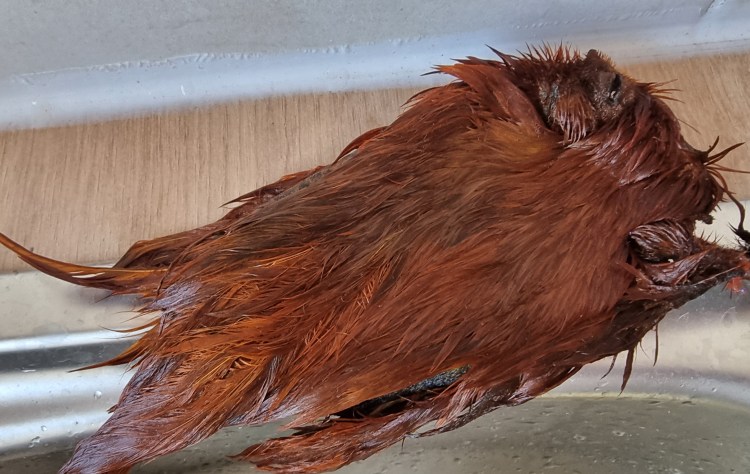
Step 4. Now for the tedious part if you are dyeing loose feathers. These will be in a soggy jumble in the sieve, so they need to be removed and placed on newspaper to dry. The tedium is when you have to straighten the feathers so they do not dry crooked. This is easy with capes but time consuming with individual feathers. Once laid out, leave the feathers to dry naturally, about an hour for small individual feathers, many be a day or two for capes or whole wings.
Tidy up your mess before you land in trouble.
Step 5. Sorting. If you are better organised than me you will have each different material dyed separately, but I chuck everything I want dyed the same colour into the same pan at once. This means that once the feathers are dry I have to sort them out and place them in different packets, a time consuming little task. No matter, it gives me a chance to flick through them and reject any that are damaged or failed to dye properly. Actually, sitting with a nice cup of coffee and sifting through the previous days’ dyeing is a nice way to spend an hour on a winters afternoon.
Sometimes the colour will be nothing like the one you want! This can happen for a huge range of reasons, so rather than getting hung up about it just clean everything thoroughly and try again. Too much dye, not enough mordant, too long in the pan and poorly cleaned raw materials are some of the most likely causes but frequently I just put it down to an act of God. Often, the results of a failure will be a muddy brown shade, which is actually quite useful for nymphs and some wet patterns so don’t chuck out any oddities.
Today I just needed some feathers dyed yellow, brown olive and cinnamon. The whole job took me a couple of hours but that was because I was doing other tasks at the same time. Now I just have to wait for it all to dry and I can get back to the vice. The yellows turned out great, the brown olive was a little darker than I wanted but it is fine. The cinnamon was specifically for a hen cape I require, and it has dyed perfectly.
Little jobs like this have always been part of my fishing. Mending rods, maintaining reels, tying flies or making up leaders – just a few of the tasks which go together to form how I fish. I’m not sure if I could go fishing if all I did was turn up on a riverbank with brand new gear and cast out a line, it would almost feel like cheating. I love the challenge of making/fixing up my tackle and today’s short dyeing session was really enjoyable. Next up are a couple of rod repairs which I am planning on doing during the coming week while the cold weather is here.

